






Categories
- Raw Wood Veneer
- Paper-Backed Veneer
- Edge Banding
- Vacuum Press Items
- Veneering Supplies
Shop by
Veneer Species
Build Your Own Vacuum Press

Veneer Supplies Newsletter



How to Tape a Veneer Seam
Methods for taping veneers together before the panel goes into the vacuum press
The first step of the veneer joinery process is to cut the edges of the veneers straight and clean using a handheld veneer saw and straight edge board. Once completed, you can move on to taping the joints. There are two common ways to use veneer tape. We'll start with the traditional method and then move on the easier modern method.
Part 2a: The Traditional Veneer Taping Method
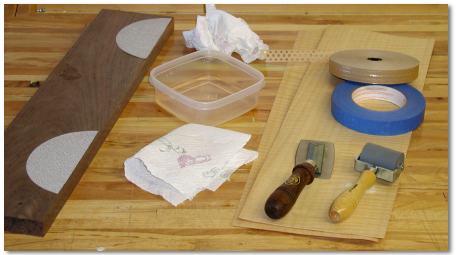
Some of the Items You'll Need When Taping Veneer Edges Together
 Veneer Tape |
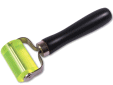
Seam Taping
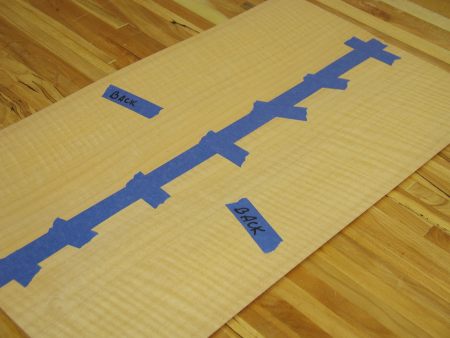
Kraft-paper veneer tape is used to keep the veneer edges tight while inside the press. The beauty of this type of veneer tape is that it shrink as it dries. This shrinking action helps to hold the seam together while in the press. There are a variety of veneer tapes available. The most common veneer tape is 3/4" wide.
These tapes are available in a solid version and versions with 2, 3, or more holes. The solid tape is suitable for thick and unruly veneers that require a bit more strength to maintain a tight joint. The easiest veneer tapes to use are those which are perforated with 3 holes. Three hole tape allows the user to see the seam under the tape which allows for adjusting/tightening of the seam before the tape dries. Additionally, this type of tape is thinner and will not create a thick buildup if multiple pieces of tape are used for making complex joints. And three hole tape can be used on the glue side (as opposed to the face side) of the veneer if necessary.
|
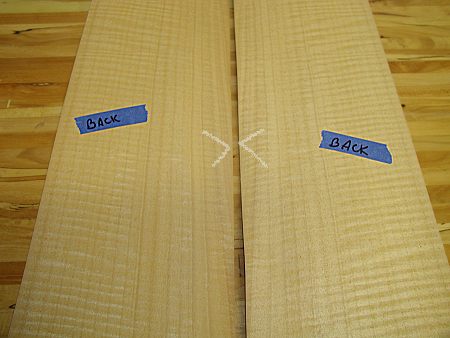
Before you begin taping the seam, make sure the edges are clean and true. This is typically done using a veneer saw and a straight-edge board. Most veneers are smooth on both sides so technically speaking, there is no back or front side. The "back" of the veneer is which ever side you choose to be glued to the substrate.
Before the veneer is placed in the press, check the seam for any areas that do not fit together correctly. If the veneer has rippled up a bit, the seam may look bad. Check to see if the veneers have truly separated by pressing down the veneer where it is rippled. Usually, you can press the veneer flat with your fingers and see the seam go back together. If it does, you are in luck because the pressure in the vacuum press will force the veneer flat and once again, the seam will come together. |
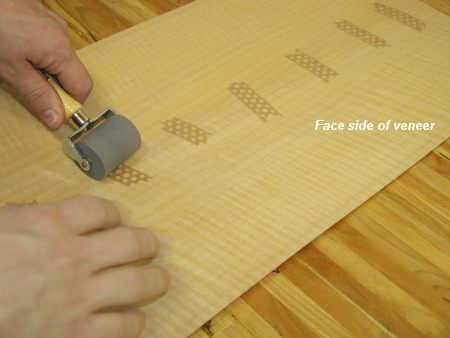
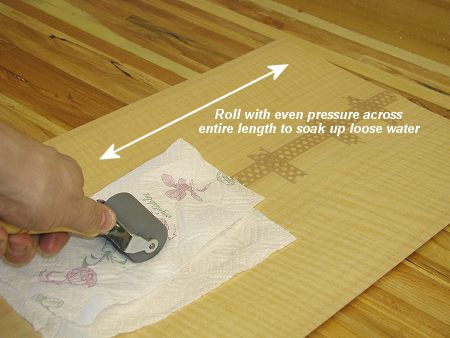
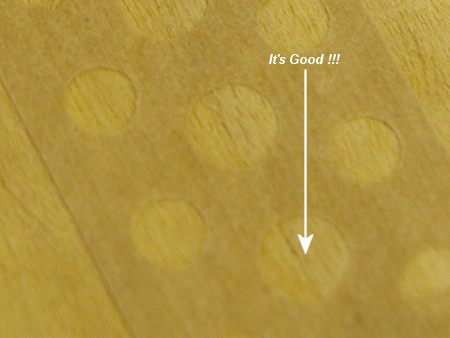
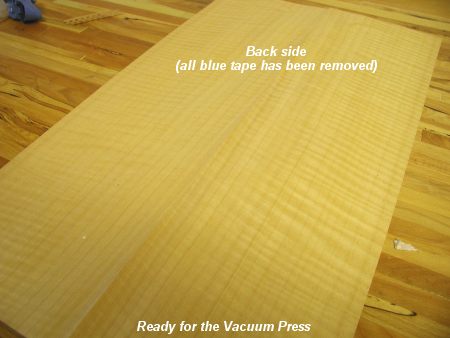
Removing the Tape
The tape can be removed after the veneered panel has been removed from the vacuum press. For standard cold press glue, it is a good idea to wait a few hours before doing this. This will give the adhesive time to fully cure outside the vacuum bag. If the veneer was adhered with a PPR glue, the tape can be removed immediately after pressing since the adhesive curing takes place inside the bag.
There are two options for veneer tape removal.
- Since the tape is thin, it can be sanded off. A cabinet scraper tool can also be used to remove veneer tape. In either case, wait until the panel is completely dry to avoid the risk of smearing the adhesive from the veneer tape onto and into the veneer.
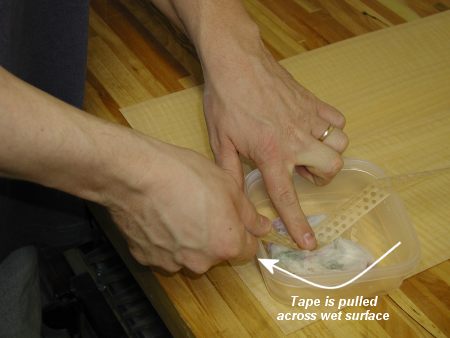
- A better method is to lightly re-moisten the tape with a sponge or paper towel, let it soak in for about a minute, and then peel the tape off the panel. If it doesn't peel off easily, allow the tape to stay moistened longer. Some adhesive from the tape may remain on the veneer. Let it dry first and carefully sand it off.

- After the tape is removed, you can wipe down the area with denatured alcohol to remove any residual tape adhesive. Be sure to let the panel thoroughly dry before sanding it. Otherwise, any remaining adhesive will gum up the surrounding veneer when you sand the panel.
- Some woods have a tendency to develop dark spots from excess moisture around the veneer taped areas. This can be prevented in most cases by using distilled water to moisten the veneer tape for application.
- Though it is uncommon, lightened areas can occur when veneer tape is removed. This is usually caused by the veneer tape because it blocks UV light (from the sun or even fluorescent lighting) which normally causes veneer to darken. This can be prevented by covering the veneered panel with a blanket or piece of cardboard until the veneer tape is removed.
- When you are finished with the veneer tape, you can prevent it from unrolling from the spool by lightly dampening the loose end and sticking it back onto the roll.
Part 2b: The Modern Veneer Taping Method
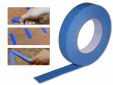
The elastic tape offered on our website can also be used on the veneer face to keep seams tight. Traditional water-activated paper tape is not needed with this joinery method. Simply place it across the veneer joint. The force of the tape's "pull" is adjusted by stretching it more or less. It is very easy to apply and remove.
Use the same technique as described above to set the tape, but apply it to the face of the veneer instead of the back side. After the panel has been pressed, carefully remove the tape at an angle as shown below.
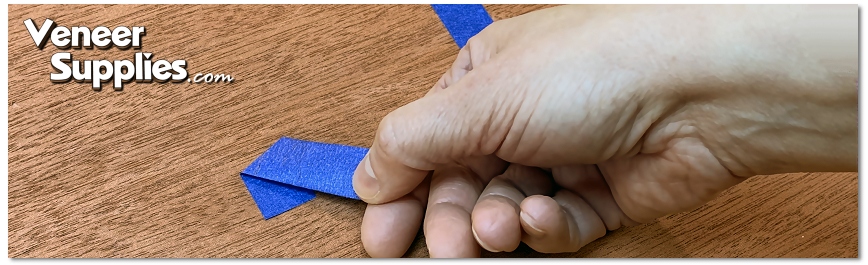
This process works on almost all species, but it's always a good idea to test on scrap materials first. Since this is a PSA tape, removal is more difficult if the panels are clamped with excessive pressure. For vacuum pressing, 21" Hg of vacuum is typically recommended.
Here is a picture of a multi-piece layup done entirely without traditional kraft-paper veneer tape.

 |
|
 |
|||||||||||||||||||||||||||||||||


All Content ©2026 VeneerSupplies.com™
Terms and Conditions | Privacy Policy | Contact Us